Monday 29 December 2014

First sale: 60th birthday cake


I am back! In a new kitchen and with the dream kitchen tool:

Early christmas present

It has not been used yet but will get it's baptism this weekend, when I bake for a little get together.

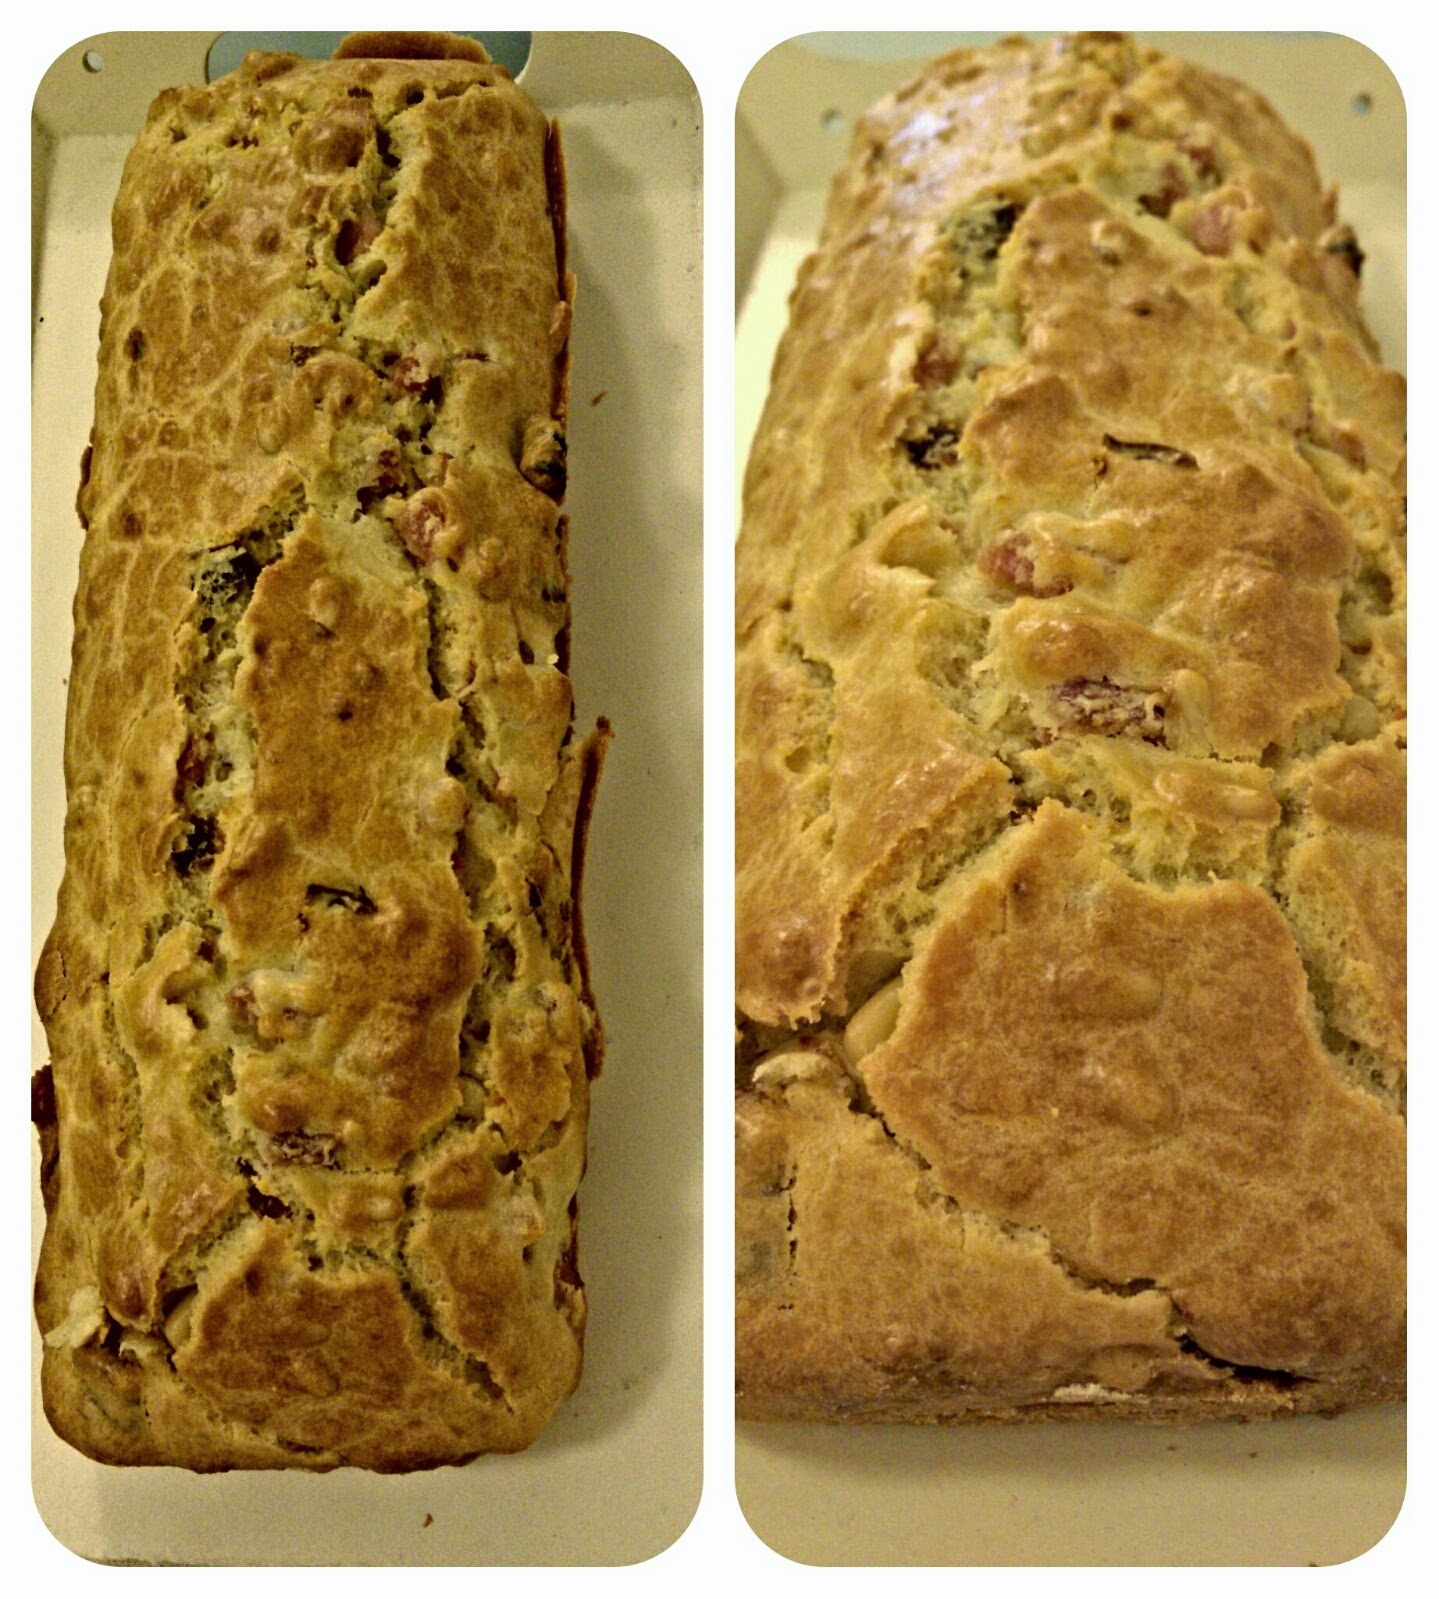
This week, it's all about the first cake that I sold. 

A friend asked me to bake a cake for her mum 60th birthday. We agreed on a yogurt cake with vanilla buttercream. I used the following recipes for a cake for about 20 people:

For 20 persons minimum:- 4 pots of yogurt
- 4 yogurt pots of sugar
-12 yogurt pots of flour
-12 eggs
- 28g baking powder
- 3 pots of oil

And I used this buttercream recipe for filling, covering and borders: http://www.bbc.co.uk/food/recipes/basicbuttericing_73263

I used two layer of buttercream to cover the cake.
For the borders I decided to use two different style . 


The bottom one was great to make it neater. I used this tip:


For the top one I used a close star tip, and in the same way it helped to make it neater especially on the edge. 

  
The yogurt cake make a crust that can be scratchy (very technical term here!). 

For the roses I decided to use shop bought buttercream as I thought it would be firmer and easier. Well it wasn't... Once I had mixed in the icing it was quite loose and roses were not holding. I tried putting it in fridge but wasn't having it... Then I checked internet and found a tutorial that was mentioning adding icing sugar. And it worked great, after 2 frustrating hours I was able to make roses. 


I used this tutorial on you tube.
https://www.youtube.com/watch?v=6YKzh8jWJQY

Was quite proud of the result!


Thursday 20 November 2014

Week 11, part 2: Sainsbury's icing nozzles trial

 Icing nozzles trial


Another late post, I guess life is taking over. Things are getting quite busy. After 7 month, we finally exchanged on the house and we should be moving around the 8th of December... I can't wait to get my new big kitchen with lots of work surface and most importantly I will be able to get my stand mixer of my dream!
Over dramatic.... Maybe slightly...
For this week post, I decided to try out the icing nozzles that I found in Sainsbury's. It was £10 for a pack of 7 big nozzles, looked like a good price.


Because of this I had to make cupcakes. Hard life isn't it....
I made vanilla and chocolate cupcakes with vanilla icing.


 I used another of the hummingbird bakery recipes, really love this book. Make great cupcakes!
Back to the icing. Bellows are the pictures of the different style I was able to do with the different nozzles. I am far from a expert in icing so any suggestions are welcome.


I like the big nozzles as I feel it gives a better finish. I particularly like the open star and round one. I feel you get the style that you see on pictures!
With the nozzle that do wicker basket type icing (photo n°6), I think you could also do scallop style but needed a bigger surface.
I am baking my first paid cake this weekend so will try it on it.

Friday 14 November 2014

Week 11, part 1: Victoria sponge

Victoria sponge

This weekend was a bitter sweet bake.

I was baking a cake to take to a friend's house as there were doing a get together before moving out of the area.
Sweet because it was an occasion to see friends that I had not seen for some times, and bitter because I am sad to get further away from my good Irish friend!
I decided to do a Victoria sponge as I felt a classic was suited to the occasion and it fitted very well with her antiques cups.


The recipes from the book call for beating butter and sugar first before adding eggs little at a time. I decided to use a wooden spoon to avoid curdling which worked until I added too much egg at the time. As I was aware that it might happen, I was quick to respond to the emergency and added a bit of flour before putting the last of the eggs. Disaster averted!
I was worried that I hadn't beat in enough air so I have to confess, I added a bit of baking powder...
But it's still a beautiful Victoria sponge isn't it?

Sunday 9 November 2014

Week 10, part 2: Birthday cake and icing

 Birthday cake and icing


This week was my lovely sister in law birthday. We were all invited to the restaurant and I decided to surprise her with a little birthday cake.
I got some help from Tboy but he was not happy that he could not get to eat it straight away!


I made a simple yogurt cake (recipe her: http://theweeklybaker.blogspot.co.uk/2014/10/week-7-part-2-icing-and-yoghurt-cake.html) then filled it and covered it with dolce de leche (caramel sauce). I then covered it with marzipan as I love the almond taste and did a number of icing decoration. I used moulds, cutters and made some roses.


Turned out fairly nice although I still need to get better at making flowers and smooth covering of the cake.

Wednesday 5 November 2014

Week 10, part 1: attempt at a lemon tart


Lemon tart trial:


After last week epic bake, I decided to take it easy and to do something that looked pretty simple: lemon tart. This is part of the great British bake off book. 
I had done sweet pastry previously pretty well and the lemon filling looked straightforward as not a lemon curd. That what I thought anyway...
So I set up to do the pastry, followed the instruction... It said to chill if butter was not cold, mine was and to be honest didn't want to wait... So I spread it, lined it, covered the hole... Because yes, it was too soft to spread properly... Then I chilled it.
I then discovered that I didn't have any baking paper, another lazy moment and decided to use foil. That should do... Well, it didn't... It stuck to the pastry and gave it a funny texture. Oh, I also over baked it because I hadn't read the whole recipe (lazy moment number 3)... I took it too far before taking the baking beans out so then the side were burned.
I carried on anyway, at this point too much effort had gone in. I then went one making the filling which was straightforward except I didn't have double cream so used crème fraiche instead. As I poured it in I saw that some piece of pastry ended up in the filling.
Came out looking alright, let it rest then served it for dinner.
This was husband face:

First question was: What did you put in it?....
To be fair didn't looked great, and worst when I cut in it. It was like the filling got mixed up with the pastry... But it tested really nice really sharp..
So conclusion of this baking: lazy day is no good for baking day.

Wednesday 29 October 2014

Week 9 : Baking for a wedding

Cupcake and cake pop bonanza!


Very late post this week, but it was a special week. I was asked to bake for my brother in law wedding.
They wanted cupcake to use as place setting and cake pops for the sweet table.
Earlier on in the year, I had arranged a tasting with them and they decided on three flavour: lemon, vanilla and caramel. 
As I am working full time I tried to be as organised as possible. I took one day of work and did all my order online. Food arrived on the Wednesday as planned but unfortunately the boxes didn't... So on the Friday morning, after dropping T boy at nursery  I had to rush to the shop  before getting back home and starting a 6h baking Marathon.
This is the basic recipe I used for all three. 
Recipe from The hummingbird bakery, cake days

For the lemon I added the zest of three lemon, and for caramel I added 100g of dulce de leche. You can also used caramel sauce.
I was planning to core them and add caramel sauce or lemon curd in the middle but time was getting tight so I left it out. Instead for the caramel cupcake I mixed it with the icing.
For the lemon cupcake, I put some spoon of curd on the side of the icing bag before putting the icing and got a nice yellow and white swirl.
Unfortunately I don't have picture of most of the preparation as I was rushing so much.
For the cake pops, I made the red velvet one. 
Same one made in this post: http://theweeklybaker.blogspot.co.uk/2014/09/week-4-part-1-red-velvet-cupcakes.html
 
 I used two different brand for the coating and added some vegetable oil for a smooth finish. One chocolate was a lot easier to use and gave a smoother result. I got it from Amazon: http://www.amazon.co.uk/gp/product/B008E9BIWS?psc=1&redirect=true&ref_=oh_aui_detailpage_o02_s00

I was quite proud with all the hard work and relived when all was packed.

 Unfortunately some didn't travel as well as I wished. Some where a bit crushed when we arrived at the hotel. I couldn't quite face it so a and them in the fridge and only faced it the following day. I did have the good idea to take some spare icing with me. Most if them were fine and I just re-iced the other one. And here is the result:

Everyone loved them and the cake pop were also a success. Especially by T boy who keep going back for more!


Sunday 19 October 2014

Week 8 part 2: Banana and cinnamon scones

Banana and cinnamon scones

About two weeks ago, I was asked to bake for a coffee morning at work. I did some red velvet cupcakes but also decided to do something that people could actually eat for breakfast. I wanted to do some scones but wanted to avoid traditional English one, as then you also need jam and clotted cream!
I was also having a lazy day and didn't really want to go to the shop again so l was looking for a recipe that I would be able to do with things I had in the cupboard.
I scrolled the internet and found the recipe below for banana and cinammon scones. It was really easy and quick to do. They turned out really nice. I didn't do the glaze as I didn't want them to be overly sweet.

The recipe is from:
http://www.thekitchn.com/recipe-banana-bread-scones-wit-155500

Banana Bread Scones with Brown Sugar Glaze
Makes 8 scones
2 very ripe bananas (about 8 oz or 1 cup once mashed)
2-4 tablespoons milk, whole or 2%
1/2 cup (4 oz) plain yogurt, whole or 2%
2 1/2 cups (12.5 oz) all-purpose flour
4 tablespoons (1 1/2 oz) granulated sugar
2 teaspoons baking powder
1/2 teaspoons salt
1 teaspoon cinnamon
4 tablespoons (2 oz) unsalted butter
1/2 cup chopped walnuts (optional)
For the glaze:
1 tablespoons (1 oz) salted butter
2 tablespoons (1 oz) milk, whole or 2%
1/4 cup (2 oz) packed brown sugar
1/4 teaspoon vanilla extract
1/4-1/2 cup (2-4 oz) confectioner's sugar
Mash the bananas and then add enough milk to make one total cup (if necessary). Stir in the yogurt and set aside.
Whisk together the flour, sugar, baking powder, salt, and cinnamon in a large bowl. Cut the butter into several pieces. Work it into the dry ingredients using a fork, pastry cutter, or your finger tips until there are no pieces of butter larger than a pea.
Pour the banana-yogurt mixture into the bowl with the flour and stir just enough to incorporate all of the flour. Fold in the walnuts, if using. This will make a fairly wet dough.
Line a dinner plate with a piece of wax paper and turn the dough out on top. Pat it into a disk about 1-inch thick and cover with another piece of wax paper. Freeze the scone dough for 30 minutes.
Preheat the oven to 400°F.
Peel off the top layer of wax paper and invert the scones onto a parchment-lined baking sheet. Peel off the second layer of wax paper. Slice the scones into eight wedges and pull them apart a little to give them some room to expand. Bake for 25-30 minutes, until the scones are firm to the touch and turning golden-brown on the edges. Cool completely and cut apart any scones that baked together with a sharp knife.
To make the glaze, melt the butter and the milk in the microwave for 30 seconds. Add the brown sugar and vanilla, and stir until the sugar has melted (heat for an additional 30 seconds in the microwave if necessary). Whisk in the confectioner's sugar, starting with 1/4 cup. Add more confectioner's sugar if desired to make a thicker glaze.
Just before serving, drizzle the glaze over the scones. The glaze will harden after setting for a minute or two, and can be served right away or packed for a later snack. The glaze can make the scones a bit sticky if kept for longer than a few hours, so store any scones to be eaten later un-glazed. Extra un-glazed scones can also be frozen and re-heated in a microwave or toaster oven.

Friday 17 October 2014

Week 8, Part1: double chocolate chips cheesecake


Double chocolate chips cheesecake


So this week, back to the great british baker cookbook. Last week, I was asked to bake for a bridal shower. I decided to do something different from the  usual cupcakes. I did the yogurt cake and decided to do a cheesecake. I actually had never done a baked cheesecake.
So got all  the ingredients out, got ready to weigh all of it, turned on scale and "error" message came up! Desperation and panic washed over me until I remembered that I now live in a country that use different way of measuring (try measuring in cups or lb in France...), so I grabbed my measuring cups and spoon, got my phone and Google on,  managed to find good website for conversion and problem sorted!
The recipe from the book was pretty simple to follow. But this was a stressful baking as I was not sure if the measures were exact and if it was going to turn out ok.
Mine ended up with a big slit in the middle, probably because I was impatient and opened the oven.
The other issue I had was that because of my wonderful organisation (not) I baked the cheesecake on the morning of the party then read the full recipe and realised I should have let it rest in the fridge overnight! But it was still lovely!

Sunday 12 October 2014

Week 7, part 2: icing and yoghurt cake

 Yoghurt cake and icing


Ok, yes this one is late! But that means more post this week!
Lately on top of the baking I have been trying to improve my piping icing techniques. I always look at pictures of cakes and think how do they do it... My one never look that good.
I have been watching different you tube video and then I got it, the secret to nice icing is.... A bigger nozzle.... Yes, as simple as this. So went to the shop and bought two big nozzles, a round one and a star one. I found it even easier to use as I put them directly in piping bag and it make it quicker to ice cakes.
On Saturday, I was going to a bridal shower and decided to put my new skills to the test. I bake a simple cake and used a buttercream with pink food coloring, I used the star nozzles to make some pretty roses. Ended looking fairly impressive.
 The cake is a yogurt cake, it is really easy to do and great to bake with children. Once you have the basic batter you can add anything in it. I sometimes add fruits, cocoa powder or will split the batter keep one simple or vanilla and the other one chocolate. To have a nice marble effect you need to put the chocolate mix on top.

Here the recipe for the yoghurt cake:

1 pot of Yoghurt  (You can use any type of yoghurt. The size of the pot is a small pot, activia type.)
Using the yoghurt pot to measure:
2 pots of flour
2 pots of sugar
½ pot of oil
3 eggs
½ packet of baking powder
Put all the ingredients in a bowl, mix and put in a tin. (Oil or butter up the tin first) 
Bake for about 30 minutes at 200°c .
Then enjoy!

Monday 6 October 2014

Week 7, part 1: Brandy snaps

 Brandy Snaps


Another late one... Sometimes it is just quite difficult to find the time to sit and write the blog...
This week I decided to attempt a more technical recipes and the brandy snaps looked pretty good. The recipe is not that complicated but need a lot of concentration. Which is probably why it might not have been such a great idea to attempt it hungover after a night out in the town with some crazy work colleague . And this is the result:


But after I realised that no, the recipe is not wrong but my oven was set too high, I persevered and got some pretty good result.
The difficulties I had was with size and timing... I found that a rounded teaspoon made it too large. Then they collapse in the middle if it was too hot or not cooked enough. To avoid it, I rolled it around the spoon then waited that it felt harder to slid it down.
I made some changes in the main ingredients mainly because it's all I could find in the corner shop and didn't feel like walking to the next shop... So I put light brown sugar instead of demerara and golden syrup maple syrup instead of the normal one.
For decoration I used 75%cacao chocolate left over from the cookies but everyone found it too strong and you could not taste the nuts or the brandy snap. It can also be served  with whipped cream piped in the middle but to be honest I tried to whip some cream but gave up as I didn't have the strength!
I personally found them just OK but others loved it...


Thursday 2 October 2014

Week 6, part 2: Bread


 Week 6, Part 2: Bread


Late post this week. Week has been pretty busy until now and with late evening at work, there was no time for writing the post.
This week, I decided to do one of the basic recipe. I was actually quite surprised of how easy it was. It does require a bit of planning, because there is a lot of resting time. But you only need some bread flour, yeast and water and a lot of kneeding!

Making bread was a lot easier than I thought and those were nicer than the one from the bread machine. It is also quite relaxing to make bread, kneeding help to relieve all this accumulated tension!

The recipe make 2 nice round loaf. They keep very well and taste like proper bread! Husband and T boy loved it.

Sunday 28 September 2014

Week 6, Part1: Savoury cakes.

Pesto cake.

Bacon and sundries tomatoes cake.

Bacon and sundries tomatoes cake
This week we had a shared lunch at work. I wanted to bake something, but as it was just me and T boy, I needed something that will do as his dinner as well as being quick to make. I have this recipe from a French magazine and it is really versatile and quick to do, more importantly I could remember the ingredients!
I don't have pictures of the stage of the recipes because I had to do it so quickly while entertaining a toddler that I did not even think about grabbing my camera!
The basic recipe is below, as you will see it is not for the diet conscious but it is really yummy. Once you have the basic mix, you can pretty much add what you want. you might need to do some slight changes depending of your ingredients. For example, I added less oil in the one with the pesto and less salt in the one with the bacon. I will say just have fun and experiment!

Basic recipe

200g of flour
3eggs
10cl single cream
10cl olive oil
1 packet of baking powder (2tsp)
salt and pepper
1- Turn on your oven at 180degrees C or th.6.
2-Put the flour in a mixing bowl, add the baking powder. Make a well and break in 3eggs. Mix with a whisk while incorporating the oil little at a time.
3- Pour in the single cream and mix.
4- Add whatever ingredients you fancy.
5-Season with salt and pepper
6- Prepared a tin with baking parchment or by spreading thin layer of butter followed by a thin layer of flour.
7- Put in the oven for about 40 minutes. If you did in muffin tin, it might not need as much.
8- Let the cake to cool down before taking it out of the tin.

Pesto cakes

Wednesday 24 September 2014

Week 5, part 2: Chocolate chunks cookies


 Chocolate Chunks Cookies


 Here it is. Part 2 of week 5, written on the train on the way back home. Finished late and trying to get home for the quarter final of the bake off! Life is getting hectic, full time job, T boy and husband, it seems that the best place to write the post is on this train. I am just hoping that it doesn't get lost in the transfer between phone and computer as the last one... Anyway, let's go back to baking!
So this week, I decided to make cookies! To be honest, I wanted to do it last week for the church mission but didn't have the energy.
They were actually quite straight forward to do and I had most of the ingredients in the cupboard. I added some milk and white chocolate pieces as I have a sweet tooth and not a fan of dark chocolate. I also felt the recipe had some flows... It say to put a teaspoon of dough to bake it but I found it made mini cookies ( and if I want a cookie I want a proper size one!), so I put a good tablespoon instead. I also found the baking time too long, it makes them very crispy and friable.... I like my cookies softer so I don't think that's a recipes I am going to keep....


Sunday 21 September 2014

Week 5, part 1: Cake Lace

Cake Lace


 A bit later than normal but here is the post for this week or rather part 1. I decided to try to do two post a week, one about the bake from the book and one about anything else to do with baking.
this week, I thought I would try or rather re-try cake lace.
The first time I tried it, I tried to rush it and it was not the best result. This time I followed the instruction (always help) and it worked better.
If you want to make cake lace, you will need a mix which consist of a powder and a gel. You can get two different one, one can go in the oven to dry it quicker. You can buy it from baking supply shop or internet.
So second round what I learned is to make sure that you mix it properly. First time was very runny, this time I followed the instruction (that always help!) , and the mix became thicker and easier to spread. When you spread it evenly and fill all holes, especially being careful of bubble of air. I only have a mat normally used to put round a cake, so I used some details for the cupcakes. I tried to used fondant silicone mould but this was a disaster! mix was spread to thickly...But after some careful peeling here is the result, et voilà !